Example Execution
This guide shows you how to run OSeMOSYS-RDM step-by-step using Anaconda. Specifically, we focus on the automated pipeline, using DVC, to reproduce the Uganda analysis. This is a beginner-friendly guide that assumes no prior experience with command-line interfaces.
Step-by-Step Execution Guide
Step 1: Open Anaconda Prompt
First, open the Anaconda Prompt terminal. This is a special command-line interface that comes with Anaconda.

Opening the Anaconda Prompt terminal
Tip
You can find Anaconda Prompt in your Windows Start menu by searching for “Anaconda Prompt”.
Step 2: Navigate to Repository
Change to the repository directory using the cd command (which stands for “change directory”).
Command explanation:
cdfollowed by a path tells the terminal to move to that location on your computerReplace the path in the image with your actual repository location
Type the command and press Enter to execute it.
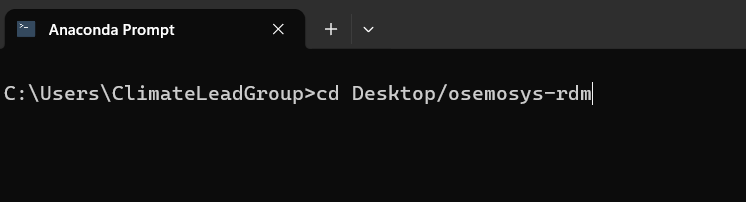
Accessing the repository directory path
Important
Make sure to replace the path with the actual location where you cloned or downloaded the repository on your computer.
Step 3: Run the Model
Execute the model using the appropriate command. Type the command and press Enter to start the execution.
Command explanation:
python run.py rdm
pythontells the computer to use Python to run a programrun.pyis the main program file that controls the workflowrdmtells the program to run the RDM (Robust Decision Making) pipeline
Other available options:
python run.py prim- Runs only the PRIM analysis (requires RDM results already available)python run.py all- Runs both RDM and PRIM pipelines sequentially
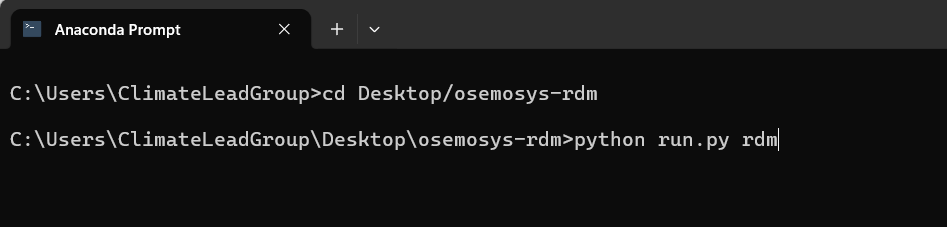
Command to execute the process
Step 4: Process Starts
After pressing Enter, the process will begin executing the pipeline stages. You’ll see text appearing on the screen showing the progress.
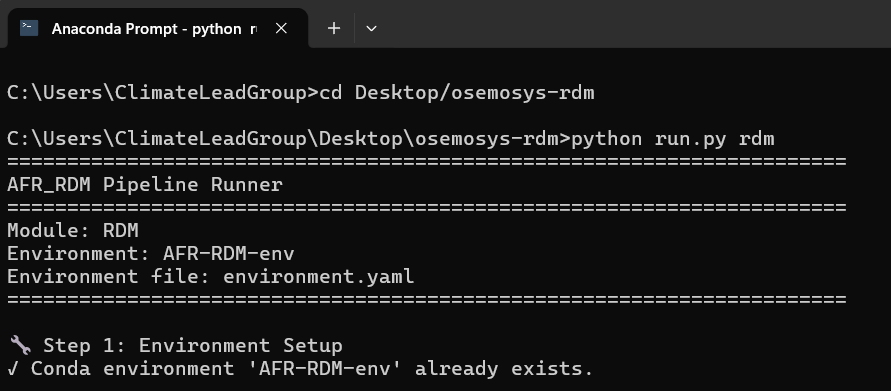
Beginning of the execution process
Note
Don’t close the window while the process is running. The terminal will show you updates as each stage completes.
Step 5: Process Completes
The process will finish when all stages are complete. You’ll see a final message indicating success.
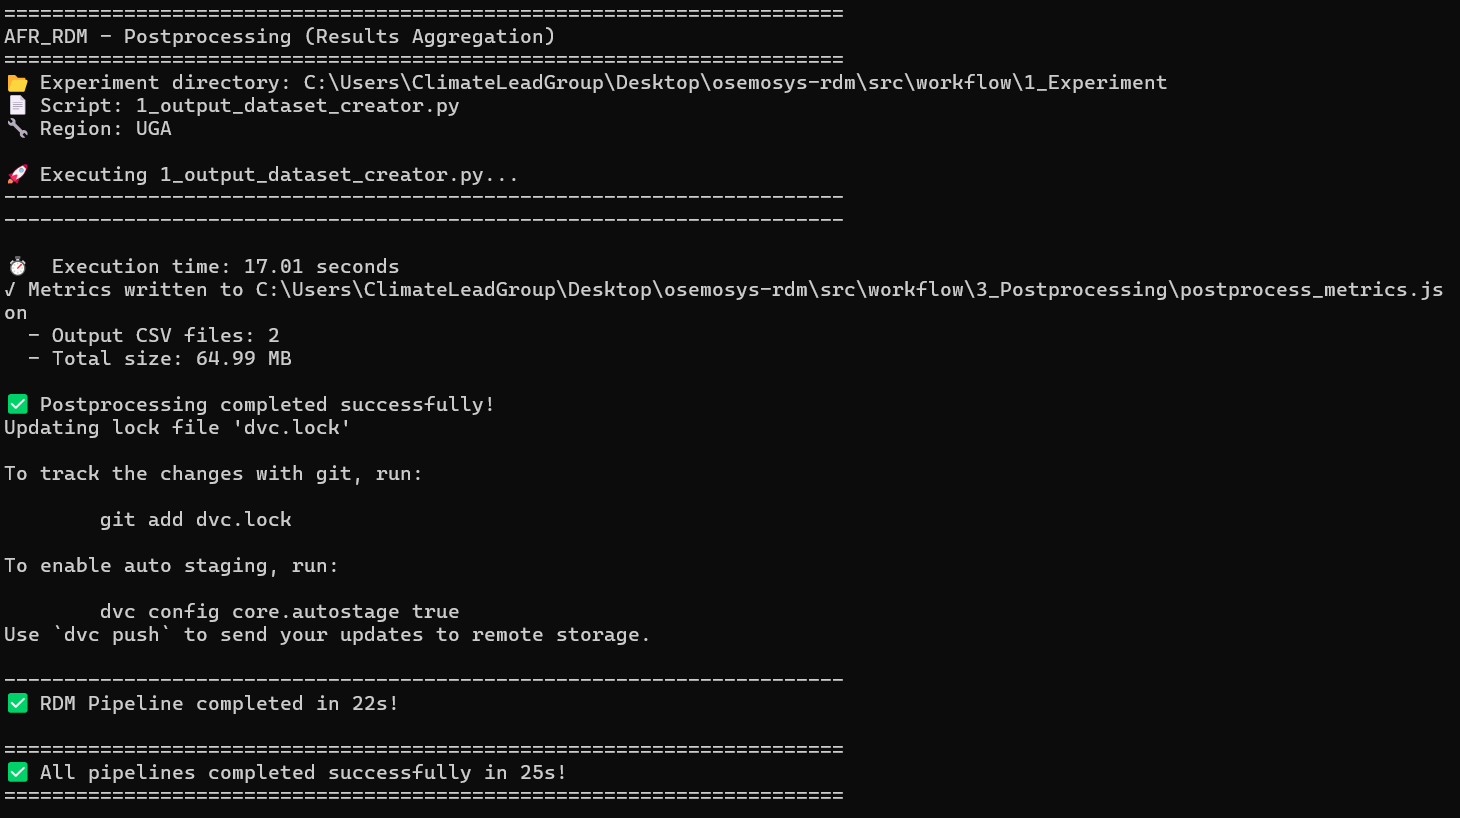
End of the execution process
Note
In this example, the process completes very quickly because the last model executed is cached in memory. DVC (Data Version Control) detects that re-running would produce the same results, so it skips unnecessary computations. Your first run may take longer.
Understanding the Output
After the process completes successfully, your results will be available in the src/Results/ directory. You can find:
CSV files with consolidated outputs
Parquet files for efficient data storage
Changes to the Environment Name
If the name of the environment changes in environment.yaml, you need to also modify the name of ENV_NAME_DEFAULT in run.py.